Holes Stencil #6 – NO-NAME Brand Precision Airbrush Stencil
Pairs well with
In stock! Ships within 1-2 business days.
90-day risk-free trial
2-Year Warranty
Complimentary shipping & returns
Holes Stencil #6 – NO-NAME Brand Precision Airbrush Stencil
Description
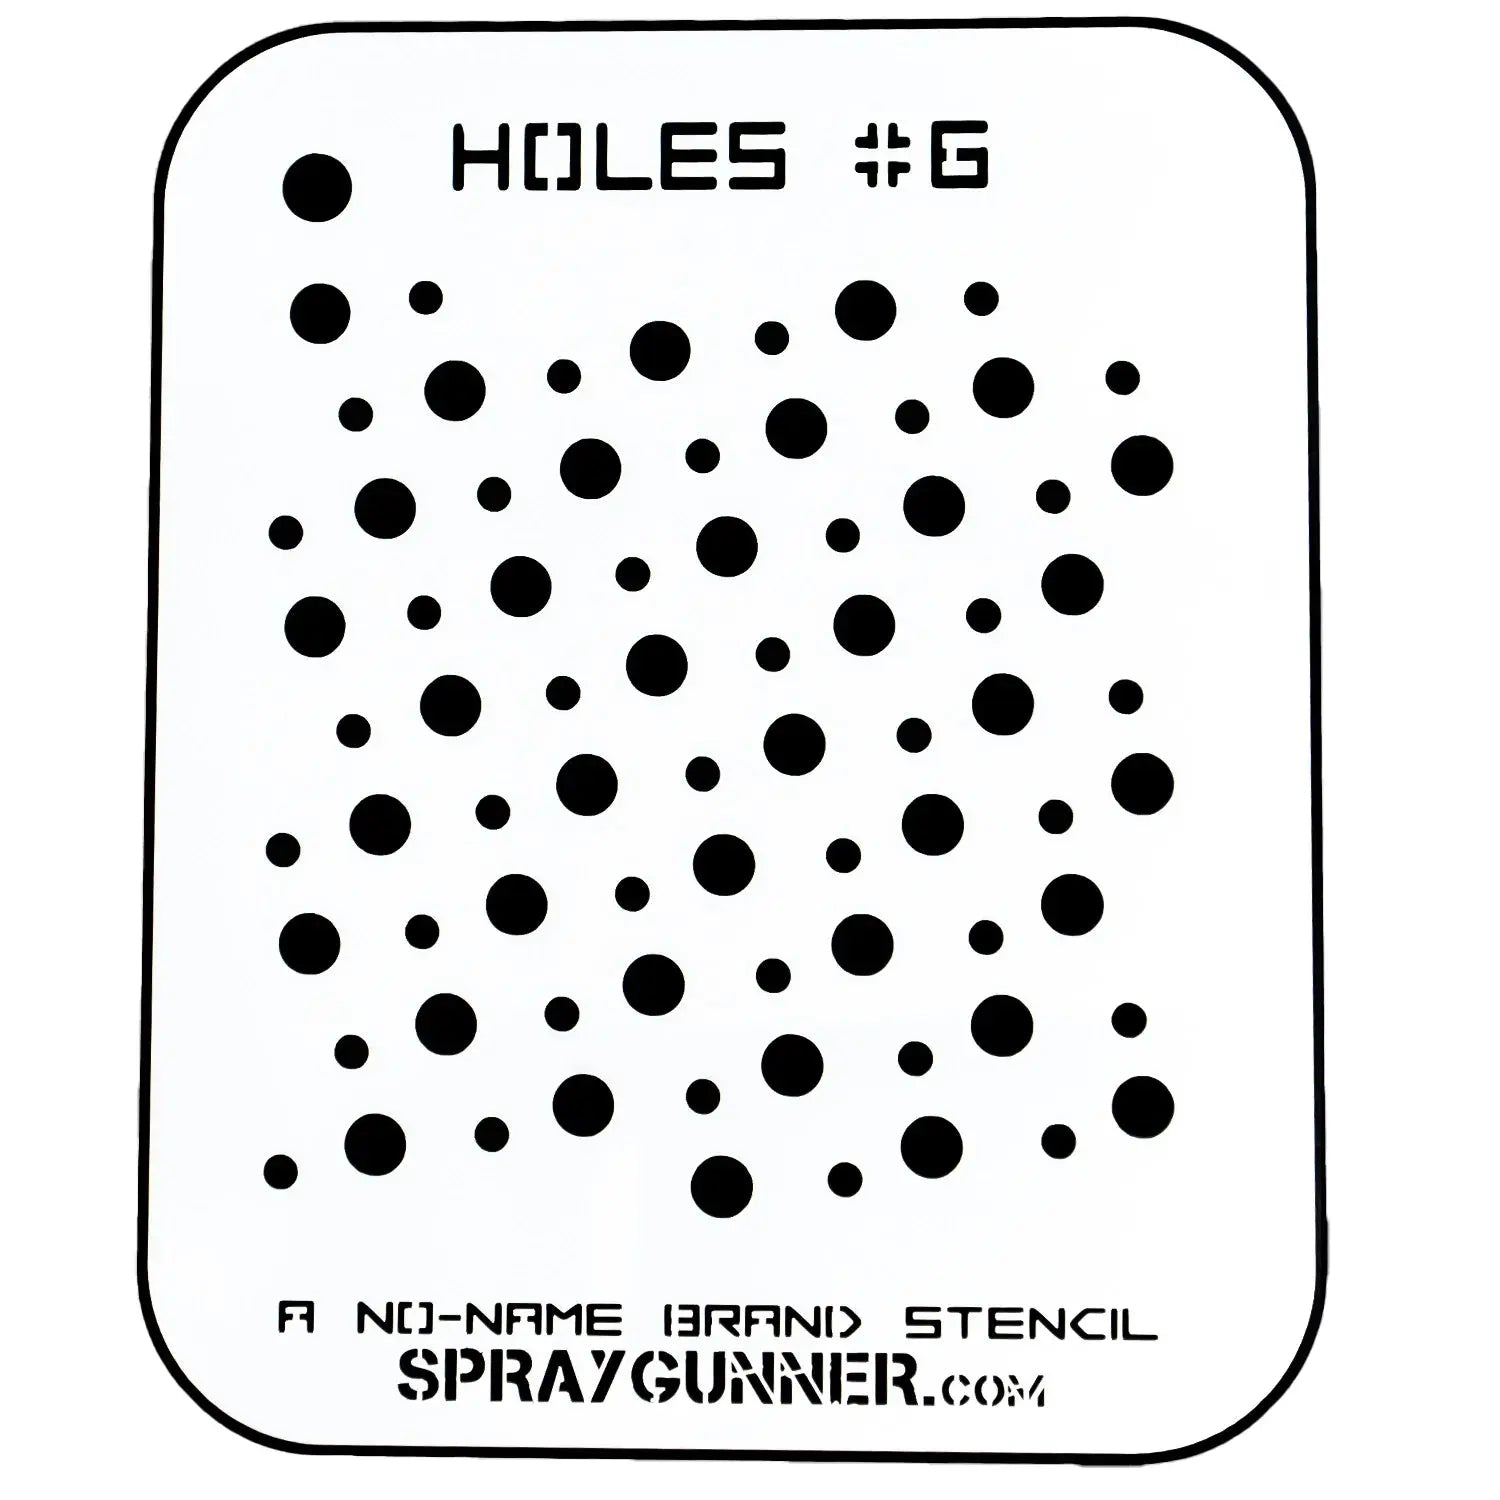
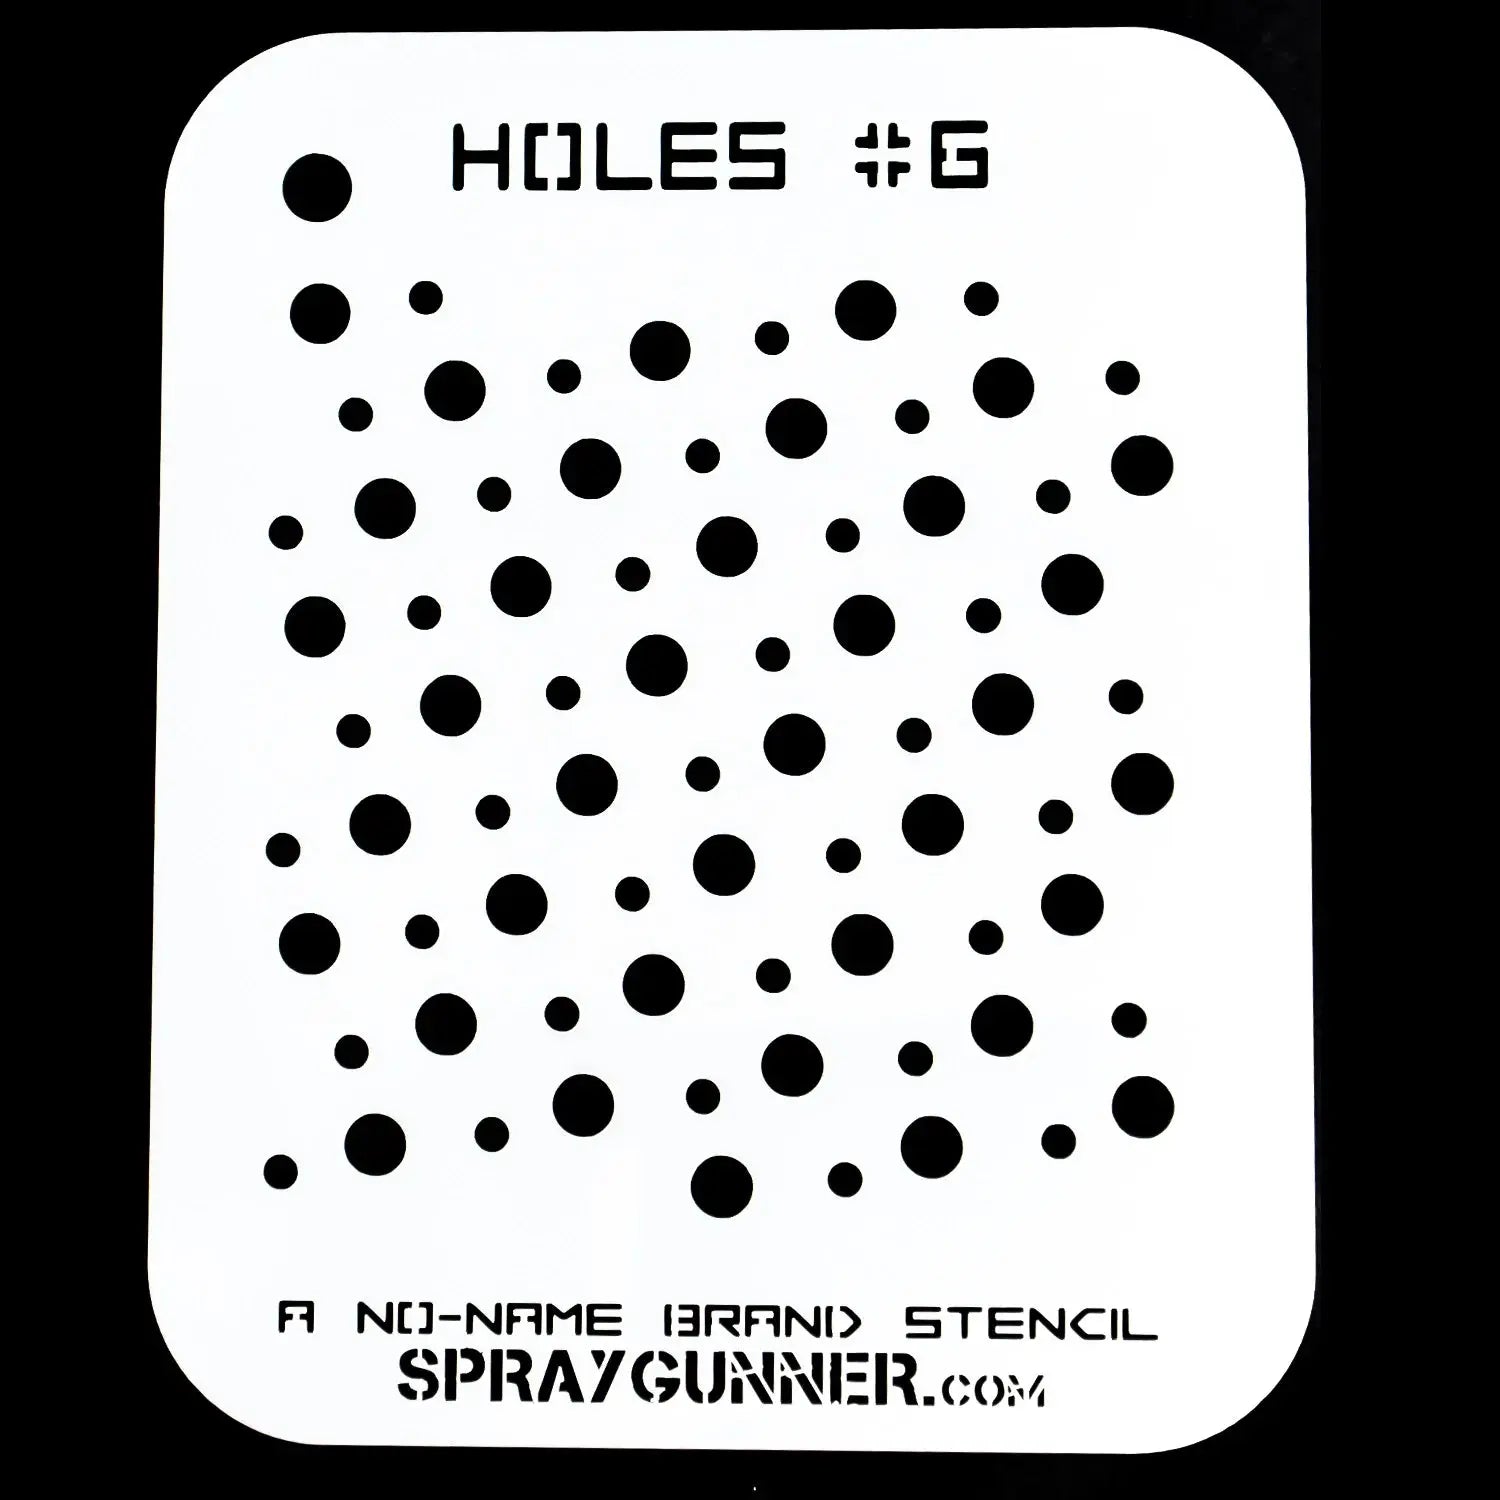
Holes Stencil #6 by NO-NAME Brand Precision Airbrush Stencil
Create realistic hole textures and distressed effects effortlessly with the Holes Stencil #6 - Precision Mylar Airbrush Tool. Whether you're working on airbrushing, scale modeling, special effects, or DIY crafts, this laser-cut Mylar stencil delivers sharp, clean designs on a variety of surfaces. Perfect for custom painters, modelers, and artists, it guarantees flawless, intricate results every time.
Crafted from 10mm solvent-proof Mylar, this durable, flexible, and reusable stencil maintains its shape while resisting bending, tearing, and solvents, making it ideal for repeated use. Designed by Bob from 6 Dog Art Stencils, this stencil ensures precision detailing for airbrushing and creative projects.
Why Choose the Holes Stencil #6 - Precision Mylar Airbrush Tool?
✔ Precision laser-cut design – Achieve realistic holes, distressed patterns, and damage effects.
✔ Premium Mylar material – 10mm thick, solvent-proof, flexible, and reusable.
✔ Versatile applications – Ideal for airbrushing, model painting, SFX makeup, and crafts.
✔ Easy to clean & maintain – Designed for multiple uses with simple maintenance.
✔ Ideal for all skill levels – Perfect for beginners and professionals alike.
Best Uses for Holes Stencil #6:
✔ Custom airbrush designs – Create distressed, worn, or mechanical hole effects.
✔ Scale models & dioramas – Perfect for battle damage, rust effects, and surface wear.
✔ Special effects & SFX makeup – Great for torn skin, corrosion, or futuristic effects.
✔ DIY crafts & home décor – Add unique patterns to walls, furniture, and decorative pieces.
✔ Automotive & motorcycle painting – Ideal for weathered hole and industrial textures.
How to Use:
📌 Prepare the Surface: Ensure the surface is clean and dry before stenciling.
📌 Secure the Stencil: Use masking tape or spray adhesive to keep it in place.
📌 Apply Paint: Use an airbrush, sponge, or spray paint in light, even layers to avoid oversaturation.
📌 Remove & Clean: Carefully lift the stencil and clean with mild solvent or soap and water for reuse.
If you have any questions, you are always welcome to contact us. We'll get back to you as soon as possible, within 24 hours on weekdays.
-
Shipping Information
Use this text to answer questions in as much detail as possible for your customers.
-
Customer Support
Use this text to answer questions in as much detail as possible for your customers.
-
FAQ’s
Use this text to answer questions in as much detail as possible for your customers.
-
Contact Us
Use this text to answer questions in as much detail as possible for your customers.